Ubiquiti Unifi Dream Machine SE Power Supply Failure Fix
Recently my Ubiquiti Unifi Dream Machine SE (UDM SE) 10G Cloud Gateway (Router) went toes up randomly. It would not boot. I searched and searched on the internet for a fix. Some said to unplug all cables and the HD that is used to record video feeds. I did that. Nothing. Some said to leave it sit unplugged for a couple hours and then plug it in again. Nothing. My screen on the device was completely black. Whereas in some similar issues the screen would just say that it was booting and to keep waiting. Then it’d never boot.
That made me suspect a power supply issue, and after some more searching, I found that there had been some previous cases of this. So, I took the lid of the thing to diagnose it. Sure enough, the PS was not outputting 54 VDC. At first, I thought this was good. Ubiquiti will replace this. Well, no, they won’t. I was out of warranty after a couple years. Okay, well that is a poor warranty IMO, but whatever. I can buy a replacement PS supply Ubiquiti, can’t I? That was also a no.
So here I sit with a $500 paperweight. I guess I can buy a new one. Ubiquiti did give me a generous 10% discount at their store, so a new UDM SE will only cost $450 plus some shipping and taxes, I am sure.
I didn’t want to spend that money if I didn’t have to, so I went looking for an alternate option. I have a decent amount of experience with electronics, and replacing a PS is pretty close to plug and play. After some searching I found this one Mean Well HLG-240H-54A that appears to be a spec match and is probably much, much, much higher quality.
You can buy it here on Amazon. It ended up costing me around $80. You may be able to get one cheaper on eBay or something if you wait. Or, potentially there are other options out there - I’m not an electronics expert.
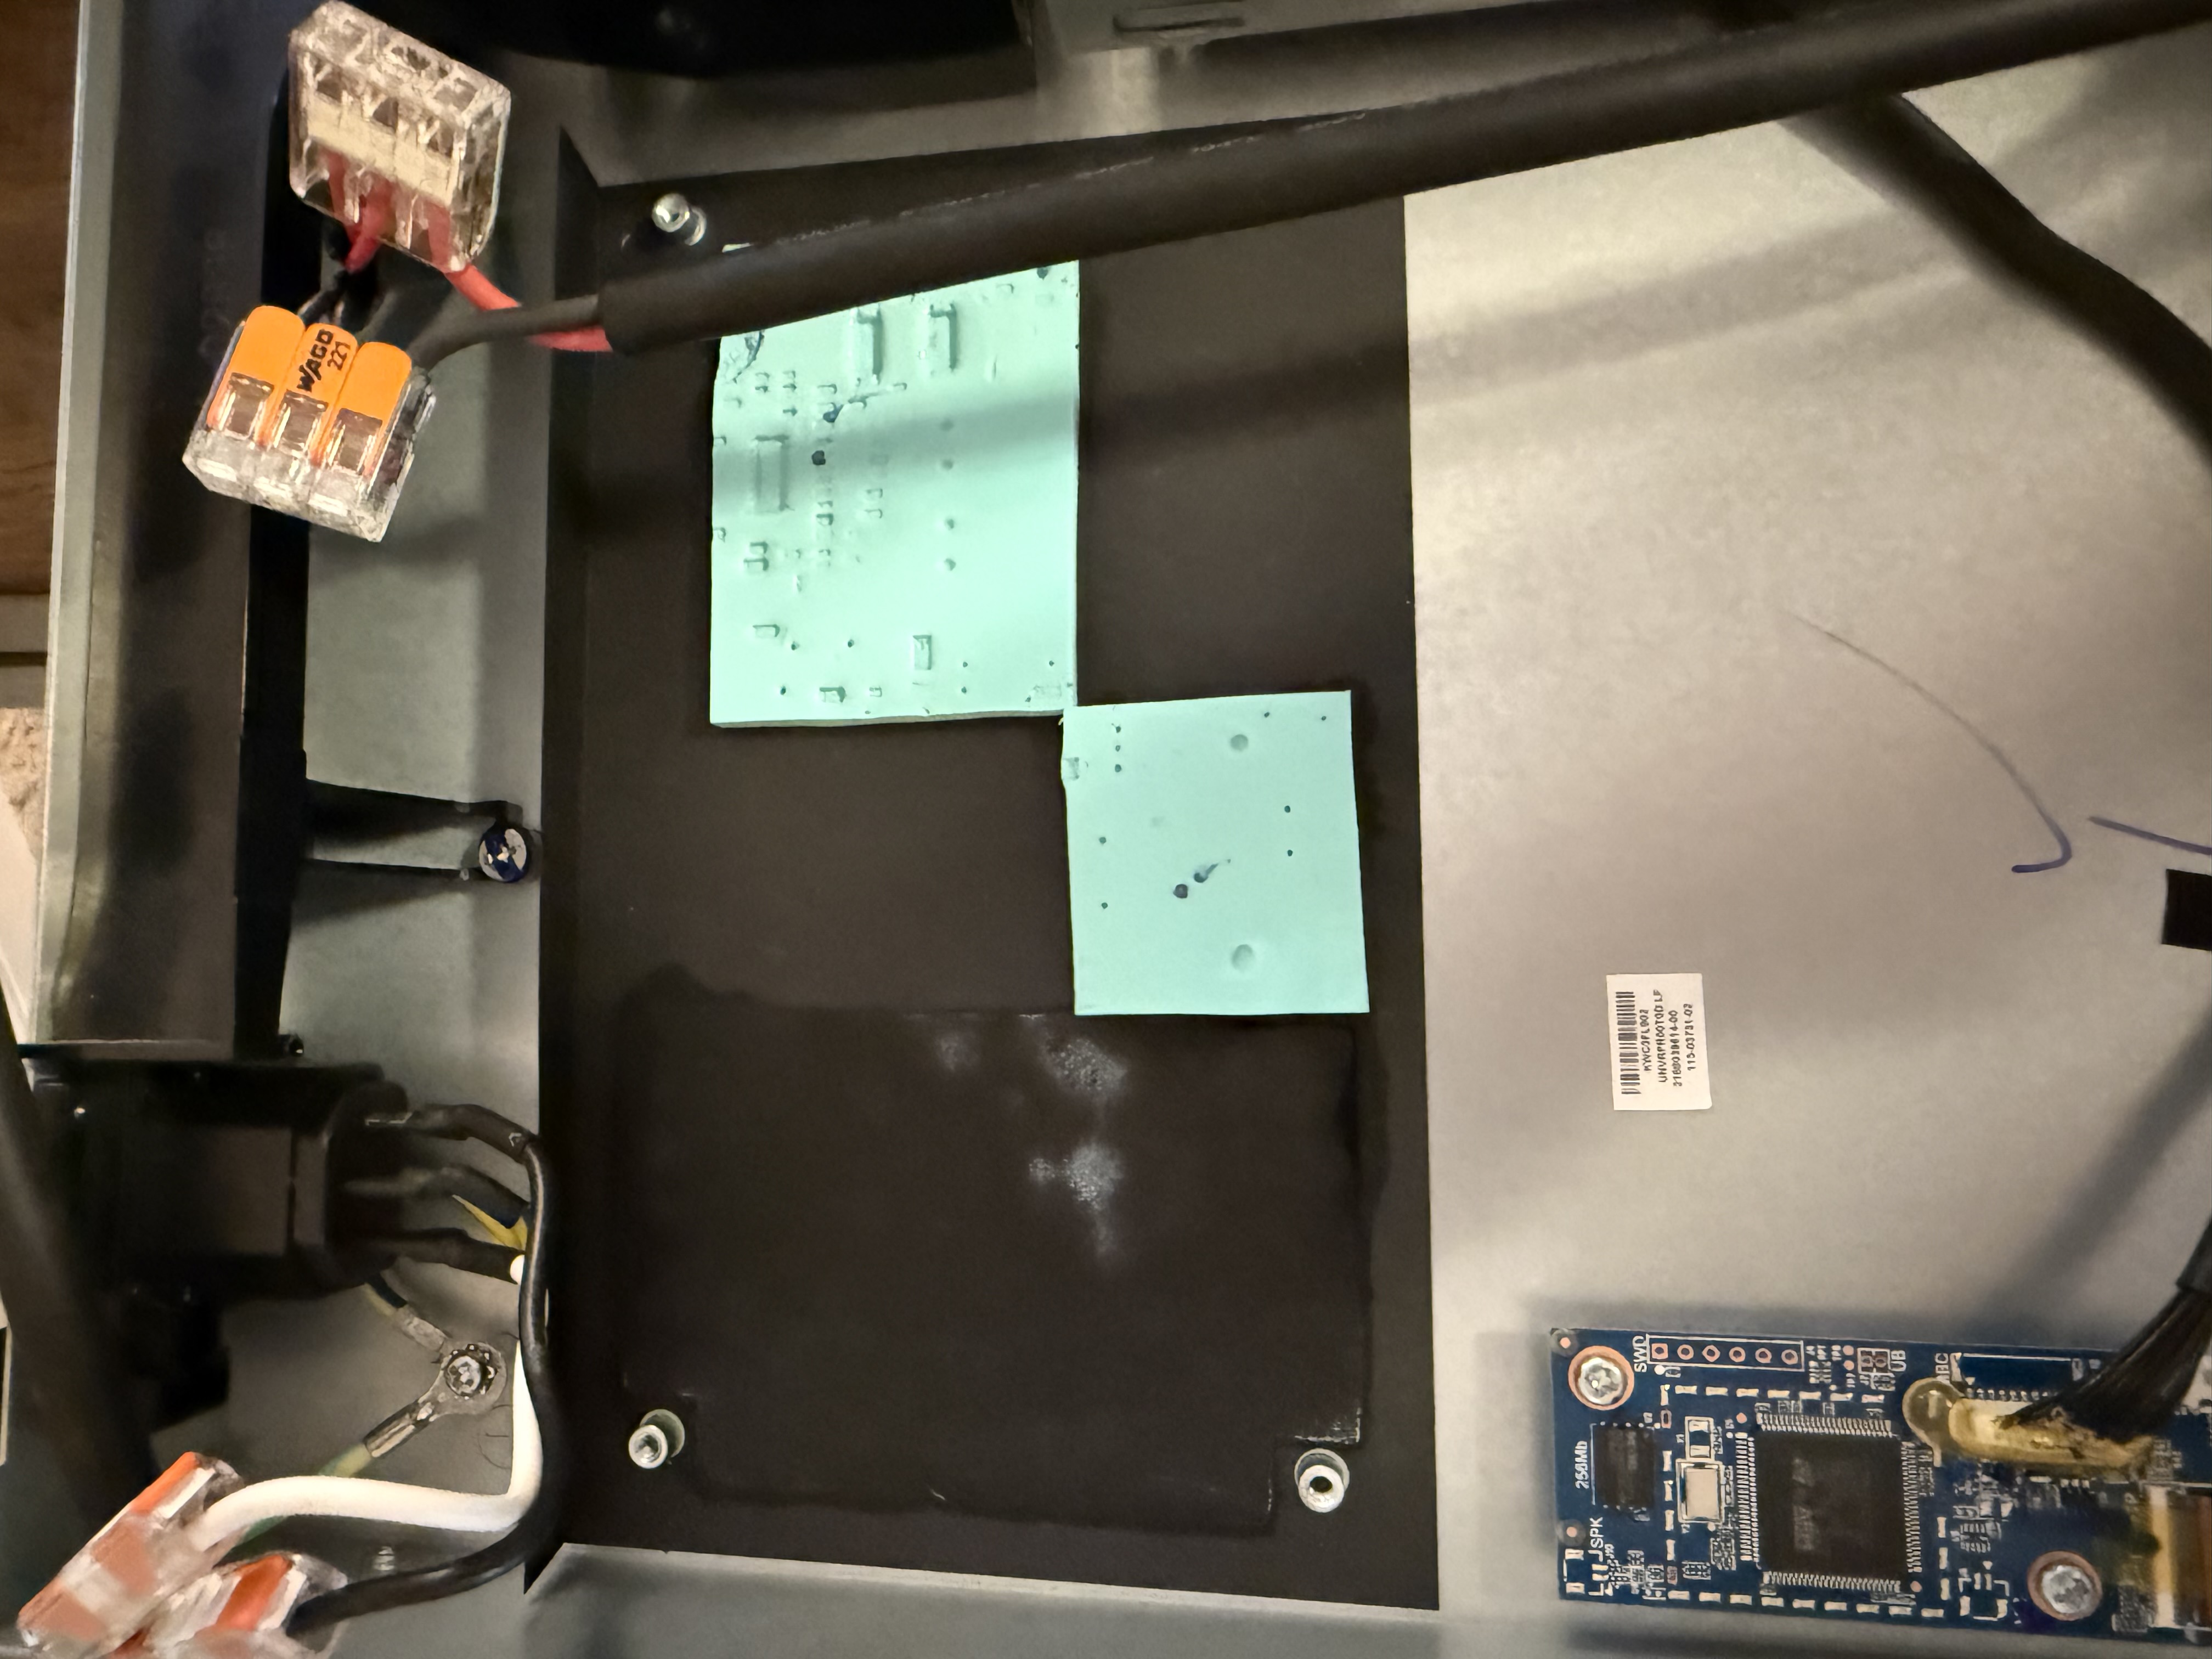
To remove the old power supply you need to remove the four screws at the corners and then pull hard on the PS. It isn’t glued down, but the sticky pads are keeping it secure.
Then, hooking the thing up is very simple. Simply cut the connectors on the UI device and strip some of the wire. From there, I used these WAGO connectors to make the following connections. On the input side, ACL (Brown) on the new PS to black. The ACN (Blue) on the PS to white. Then, on the output site, you connect all three reds together and all three blacks together. After this, it booted right up and has been running like a champ.
As you can see in this picture, the new PS is slightly bigger than the old one. However, I do think you could get it inside the case, if you really have to. Though, it may be a little tall. I might try and I will update this post if I attempt it. 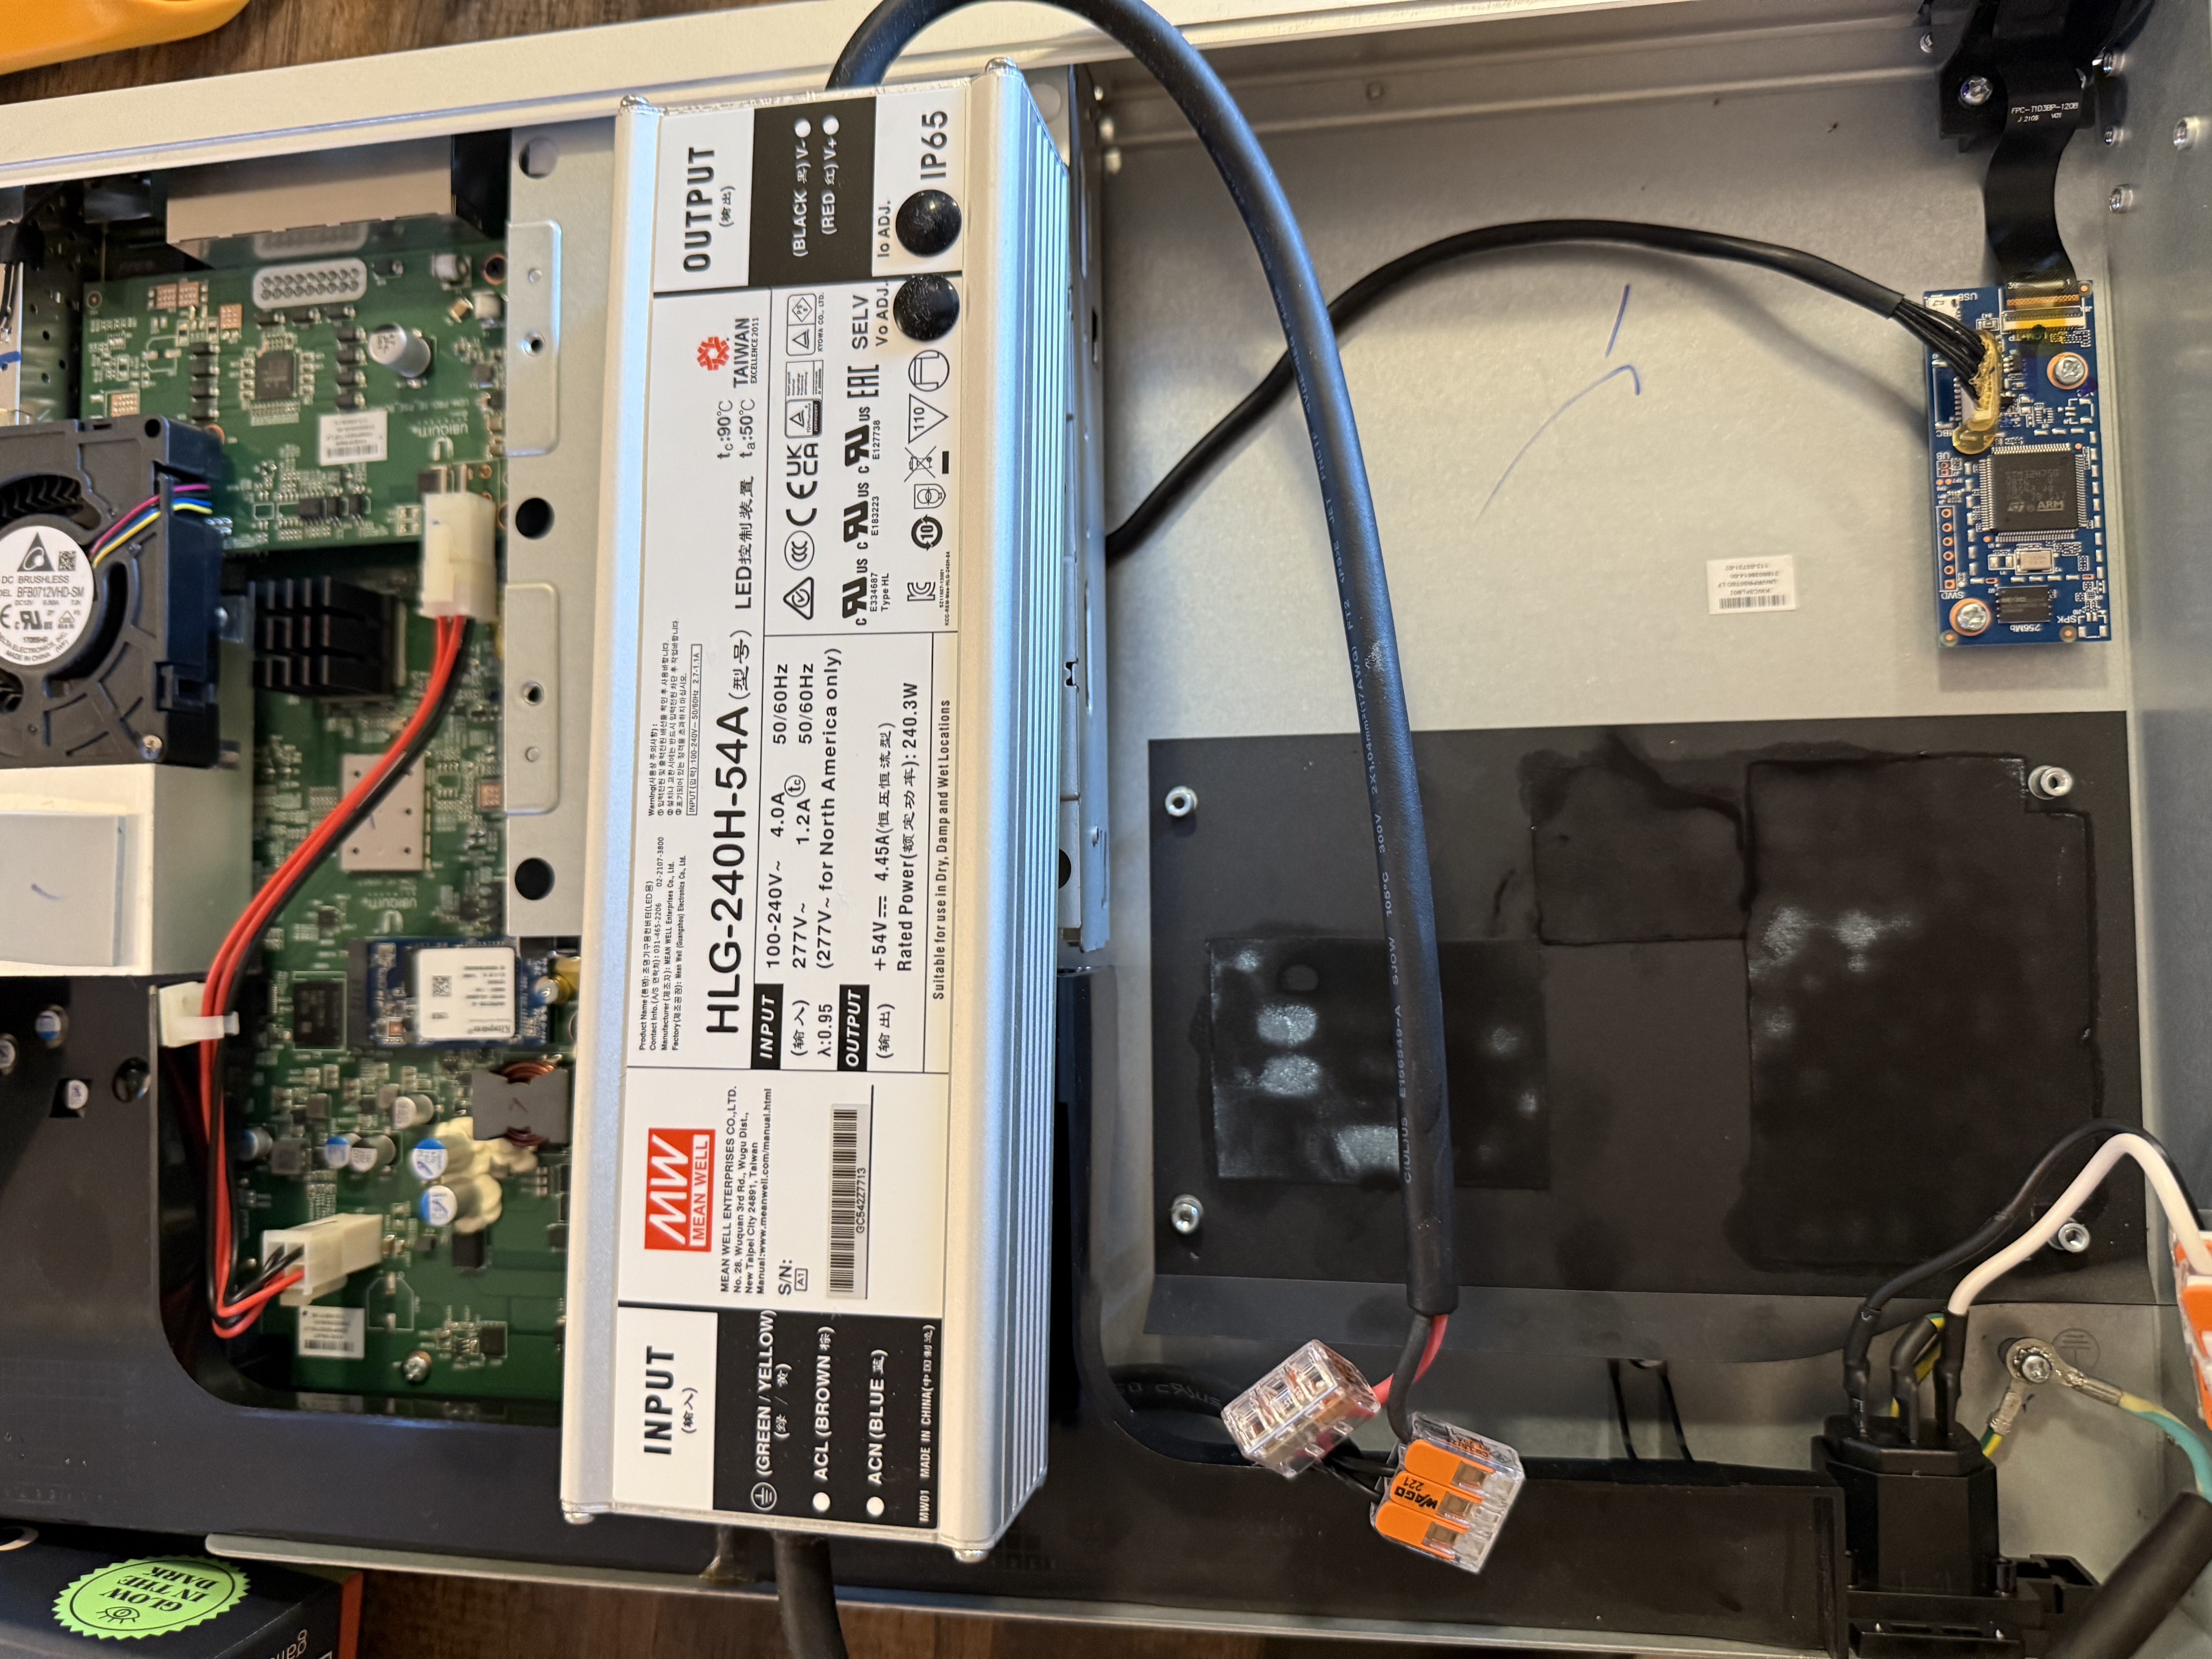
I guess next up I could try and find the exact component on the PS that failed and replace that. I would have done that first, but that’s slightly more complicated and nobody got time for that.
To conclude, I find it a bit obnoxious that Ubiquiti doesn’t sell replacement parts for their devices. I will likely not purchase new Ubiquiti gear in the future, and transition to something else. Unfortunately the options are slim out there.
Once again, you can buy the part I used here on Amazon.